Jekyll it is, Mr. Amith!
Once I decided to use Jekyll for my static site (please read my previous post if you haven’t yet), I needed resources to jumpstart my website development. So I started googling. For all available resources that I could find on Jekyll. This is by far the easiest way to do it.
Installing Jekyll
![]()
The first place I looked at was the official website. This will be your goto place for any kind of reference required. So keep it open whenever you are working on anything Jekyll-related.
Next I needed to install a few things for Jekyll to work. If you are installing Jekyll on a Linux machine, the above link has all the relevant details.
If like me, you are working on windows, go here for Installation instructions. The first thing to install is Ruby and its DevKit. You can follow the instructions in the above link, they come with complete details and screenshots! If you have reached the end of the Jekyll installation successfully, congrats! You are all set to build your own website :)
Installing Grunt
![]()
Grunt, put simply, is for automating stuff. Stuff that you don’t want to be doing every time you build. It’s a Javascript Task Runner which requires node.js to run and works really well with Jekyll for automating tasks like image compression, compiling/uglifying the main.js file and so on. Uglify compresses all the javascripts used into a main.js file to be used by the website.
So, first download and install node.js. The npm installer will come bundled with it. You can use this link to install Grunt.js.
Note: Make sure you are able to run commands on these packages. If not, you may need to add the bin/install folders of these packages to the PATH in windows. On Linux/MacOS, installation is enough, everything works!
Get a Jekyll template
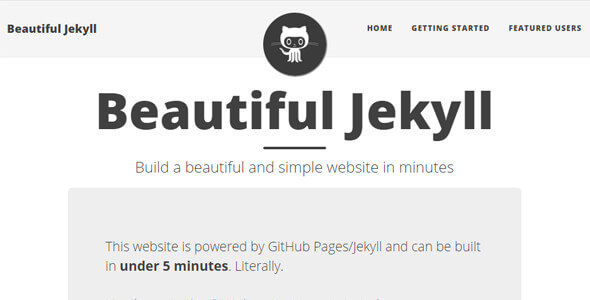
Getting a simple Jekyll template will make it easier for you to understand how Jekyll works and focus on the content of your website faster. I recommend going with a template initially, instead of building things from scratch, for the sheer pleasure of everything working out of the box!
There are quite a few places where you can get a nice and easy-to-use Jekyll template. These are my favourite sites:
- Made Mistakes by Michael Rose.
- Jekyll Themes by Matt Harzewski.
- Jekyll Themes is a directory of best-looking themes for Jekyll blogs.
- Free/Premium Themes by Tyler Cubell.
Go with a free simple template that you like. Download the template to your workstation. Unzip it and put it in a folder. Run the build and serve commands on the folder. Once you do, the template will be published to the default url, which is usually at localhost:4000. Open it to make sure the url is up and running. This means all the steps have worked perfectly.
You just used Jekyll to build a static site!