Once you zero in on the kind of the website you want, the next step obviously is designing it.
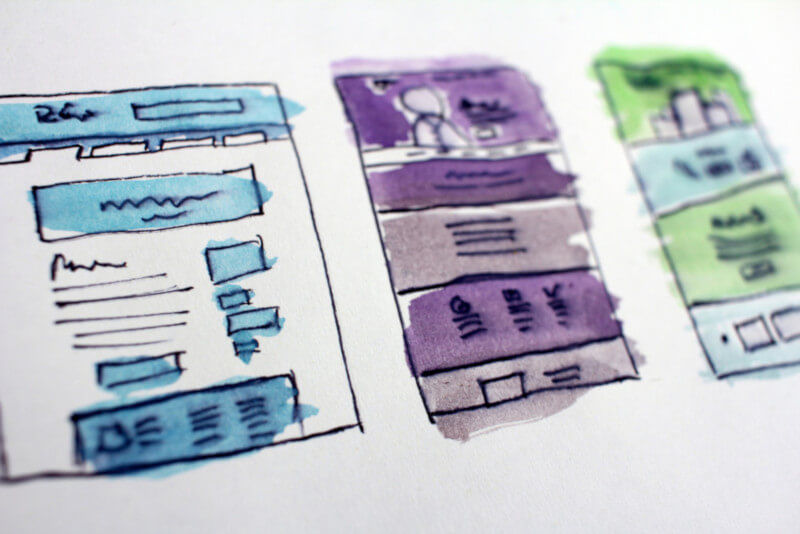
Figure out the pages you want on your site and what you need each of them to be. Once you have a purpose for each page, you can think of the information to be presented and the kind of layout that goes well with that. In UX design, this process is called wireframing. Wireframing brings out the essentials from the initial concept. It is meant to convert the idea into concrete information, presented visually for easy understanding.
At its most basic level, wireframing can be just a simple sketch done with pen and paper. For advanced wireframing, you have tools available) that help to maintain the same feel across pages and reuse commonly used blocks. Wireframing tools are usually expensive and not really needed for building a personal website. But if you’re looking at a medium sized website for e-commerce purposes then they’re a worthy investment.
Okay then, let us deep-dive into the design process and see the steps involved.
The Content
What is the content that needs to be hosted? A personal blog? A niche market? A portfolio of your work? Each of these is talking to a different audience and the information expected also differs.
A personal blog is about your one passion turning into much more and hence requires a space to explore it. It will be less formal and more subjective in nature. A marketplace is about selling your goods, which means its all about displaying your product range. A portfolio site is about showcasing your amazing work done through the years (and growing).
Usually, all of these will require a landing page (SEO talk for your main page), which has the links to all the different sections of your website.
- A blog page listing the posts you have written.
- A products page listing out the products in a grid.
- A portfolio page with all the amazing work you have done.
Along with these, you will also need a couple of common-purpose pages:
- ‘About’ page: It has information on the ‘core functionality’ of the website and the people behind it.
- ‘Terms & Conditions’ page: This is essential to address user issues like data privacy and advertising policy. Being transparent from the word ‘go’ is very important in the current political climate.
Just start with a minimal set of pages that you think are necessary, and add more as you need. This will ensure that you add the core functionality first, and follow through with the bells and whistles later.
Layout of your website
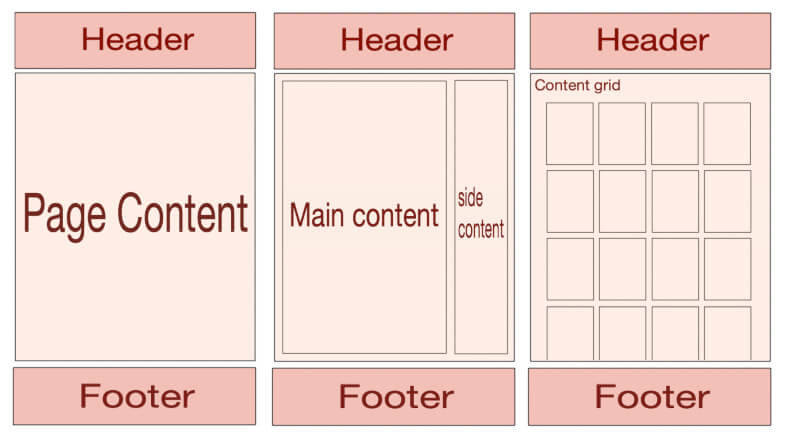
To achieve a consistent look and feel across your website, all the pages need to conform to one design. This is usually achieved through the same header / footer sections and consistent colour and design choices. Choose a background colour / pattern / image that is relevant to your website. This is what we call the basic template of a website.
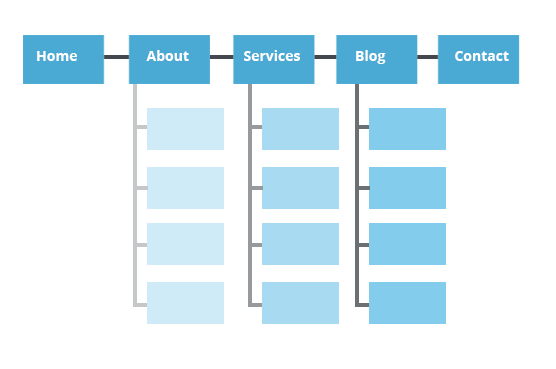
Once the layout of the different pages have been decided upon, the next thing you should think of is navigation. The navigation between the different pages should feel seamless to the user. For example, the Header / Footer sections should contain links to the main pages of your website. Along with the navigation section in the Header, page-specific navigation links offer users easier backlinks to come back to the main sections of the website. In each blog post, a link to the same category of posts is relevant and expected. You can also add links to the next/previous posts at the end of the current post being read. This leads to the evolution of a tree structure of your website, which would be something similar to the one below.
I believe, the number one thing to learn for designing websites is layout design. Or at least a basic understanding of the HTML/CSS elements like the Flexbox and Grid. If you don’t know what they are, then now is a good time for a refresher course on these. To play around with the different layouts and make sure they work as expected, its essential to know how to use these elements to fit your requirements.
Prototype It!
The first build of your website is just that. It has all the content presented as per the intended design and spread across the different pages. This gives you an overview of how the website will look. Once the initial version is coded, the basic design is complete. This will be your prototype!
A prototype may not have all the functionality working as expected, but it will have the look and feel of the website as designed. This is the main use of a prototype, it gives you a simplified version of your website for adding in functionality as required. It acts a placeholder for the complete functionality to be added later.
Once you have a working prototype, you have completed the basic part of your website!
Note: All images used in this post are from Unsplash!